Swings and check valves are an important part of any well-functioning water system. Without them, your home or business could suffer from significant water damage. In this blog post, we will show you how to install a swing check valve on your tank.
What is a Swing Check Valve?
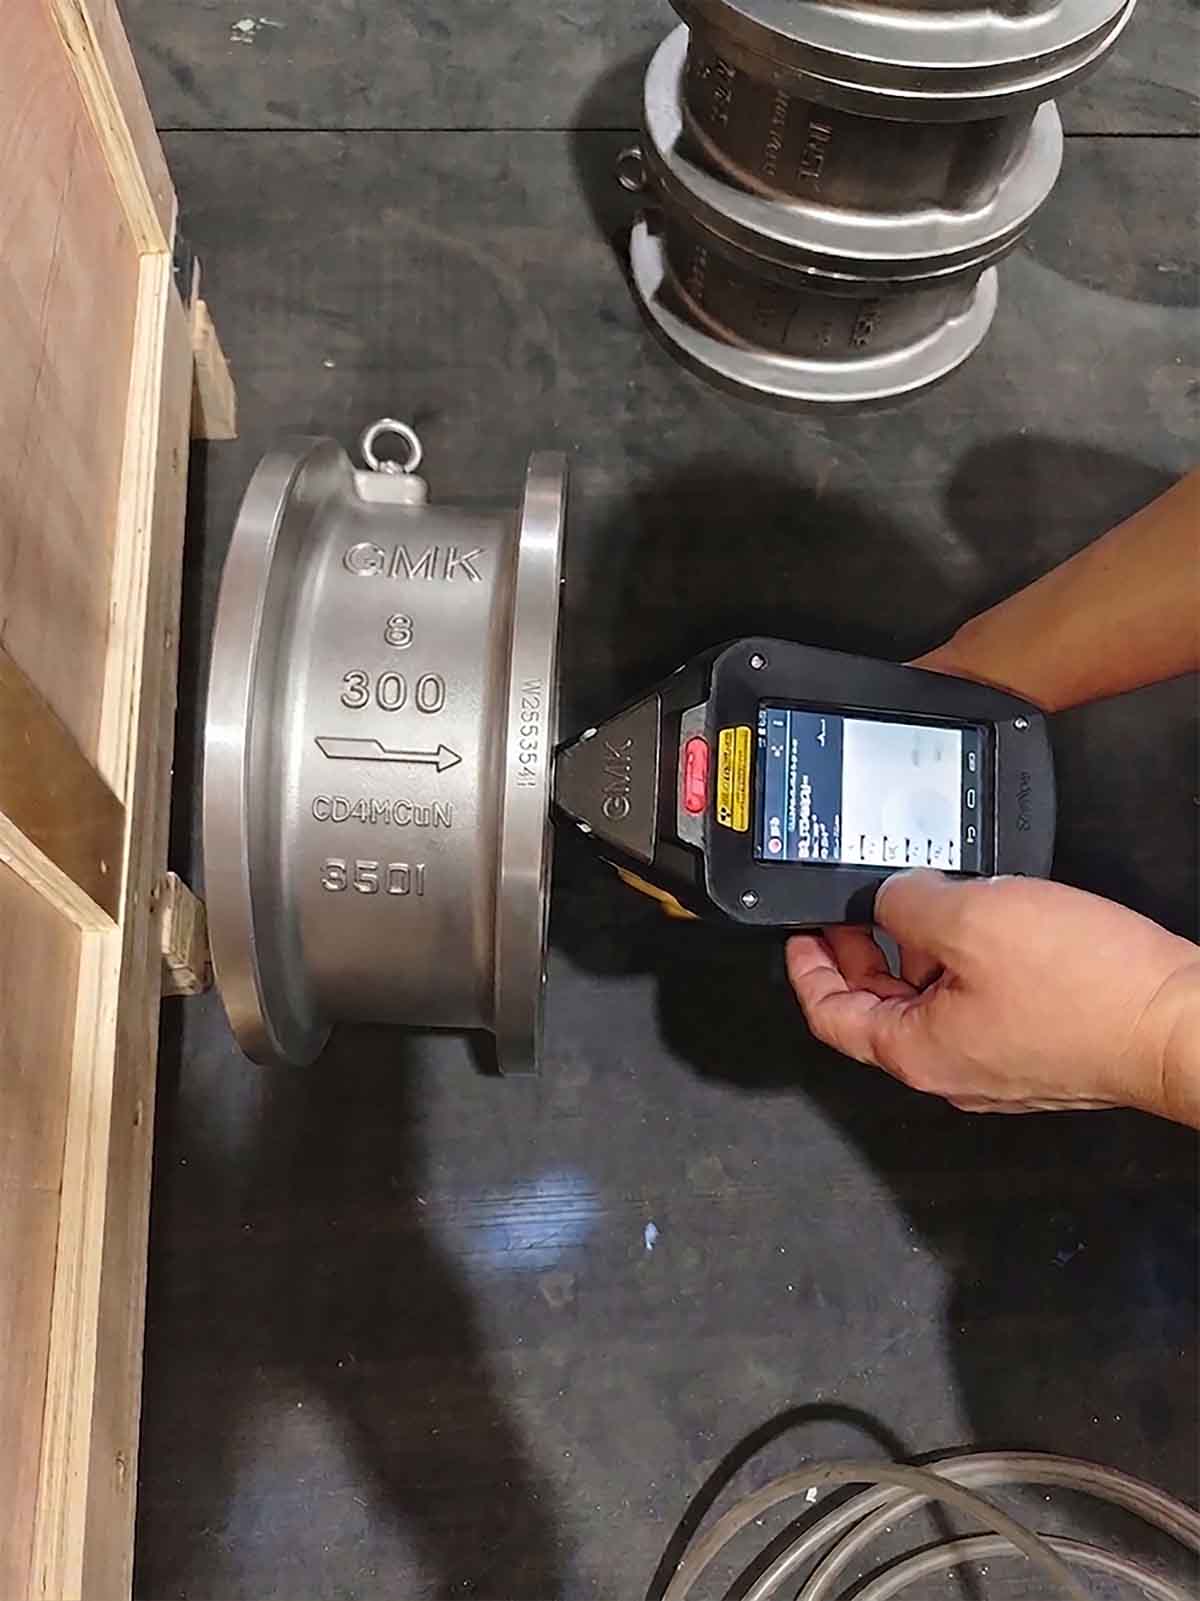
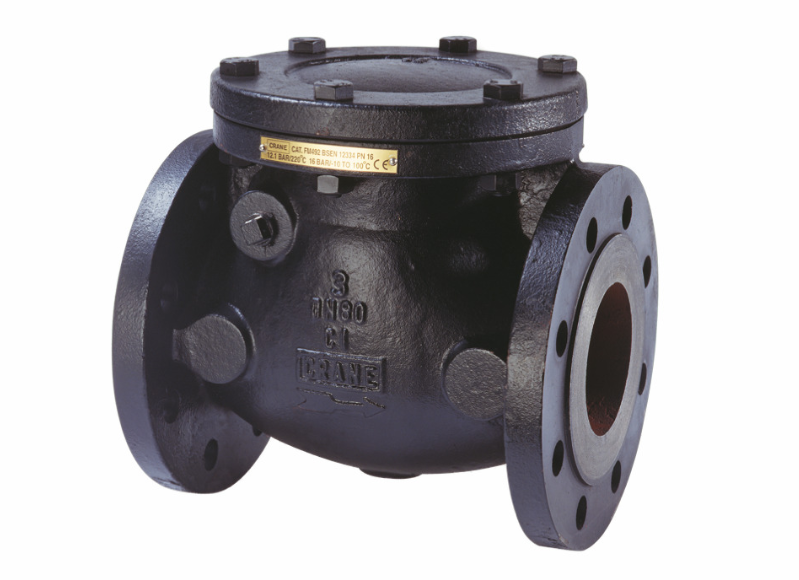
A swing check valve is a valve that allows water to flow in one direction, but not the other. It is used on tanks and distribution systems to help control water pressure. When the valve is closed, the higher water pressure inside the tank prevents water from flowing out. When the valve opens, less water pressure inside the tank means water can flow out quickly, preventing sudden changes in pressure.
How to Install a Swing Check Valve
Installing a swing check valve on your tank is an easy way to prevent backflow and protect your water supply. Follow these steps to install a swing check valve on your tank:
1. Measure the circumference of the pot or tank you’re installing the valve in. This measurement will determine the size of the swing check valve you need.
2. Order a swing check valve from your local hardware store or online retailer.
3. Remove the old, defective swing check valve from your tank by unscrewing it from the fitting it is attached to.
4. Clean all of the metal surfaces with soap and water before attaching the new swing check valve.
5. Pry off the old gasket material if there is any, then place it over the top of the new valve core and press down evenly with your fingers. Use a piece of sandpaper to smooth out any irregularities.
6. Tighten the bolt that holds the pot or tank onto the fitting using a wrench until it is snug but not overtightened.(a torque value chart can be found in most hardware stores)
7. Replace the cover on your tank and screw it into place.
8. Test the swing check valve by filling your pot or tank with water and turning on the faucet. If the valve opens when you turn the faucet on, then it is installed correctly.9. If the valve does not open when you turn the faucet on, then you may need to adjust the setting on your wrench.
Use and Care for the Swing Check Valve
When it comes to installing a swing check valve on your tank, there are a few things to keep in mind. Firstly, make sure that the valve is properly secured to the tank. Secondly, make sure that the check valve is cleaned and maintained regularly. Finally, be sure to read the installation instructions carefully before you begin.
Once you have installed your swing check valve, it’s important to keep it clean and free of debris. To do this, simply use a hose attached to a garden pump or water fountain to clear the check valve every few weeks. Additionally, be sure to replace the O-ring on the check valve every year or so.
Benefits of a Swing Check Valve
Installation of a swing check valve is a simple and effective way to improve water flow in your tank. When the valve is open, water flows freely past the check valve into the tank. However, when the valve is closed, the pressure of the flowing water prevents any air from entering the check valve. This creates a natural filter and improves water quality.
Disadvantages of a Swing Check Valve
A swing check valve is an ideal way to prevent backflow and gas poisoning when your tank is being refilled. However, there are some disadvantages to using a swing check valve. First, swing check valves can be more difficult to install than traditional check valves. Second, they may require periodic maintenance to keep them working properly.
What to do if you get a flow restriction
If you are noticing a decrease in your irrigation flow, there may be a problem with your swing check valve. Follow these steps to diagnose and fix the issue:
1. Inspect the check valve for damage. If it looks functional, inspect the arm and spring for wear or damage.
2. Disconnect the water supply from the controller if possible and use a wrench to turn the valve body clockwise until it becomes tight (a bit of resistance is normal). This will allow you to test whether or not water is flowing through the valve. If it’s not, there may be something obstructing the orifice.
3. Remove any obstruction from the orifice by using a pipe cleaner, plunger, or snake (if available). Be sure to use gloves to avoid getting contamination of the check valve mechanism. If cleaning does not solve the issue, replace the swing check valve.
4. Reconnect the water supply to the controller and turn the valve body counter-clockwise until it becomes tight (a bit of resistance is normal). This will ensure that the valve is closed and water cannot flow through the orifice again.
5. If the issue still persists, replace the controller.
If you are noticing a decrease in your irrigation flow, there may be a problem with your controller. Follow these steps to diagnose and fix the issue:
1. Remove the power from the controller by unplugging it from the outlet.
2. Use a screwdriver to remove the cover of the controller.
3. Locate and turn the main power switch off (it should be labeled “OFF” or “POWER”).
4. Disconnect all hoses and tubes that lead into or out of the controller.
5. If water is still flowing through the controller, there may be a problem with one of its internal components. In this case, you will need to have a technician replace the controller.
Conclusion
If you are looking to install a swing check valve on your tank, our guide will walk you through the process. By following these simple steps, you can ensure that your system is functioning properly and maintaining safe water pressure levels in your home. Thank you for reading!